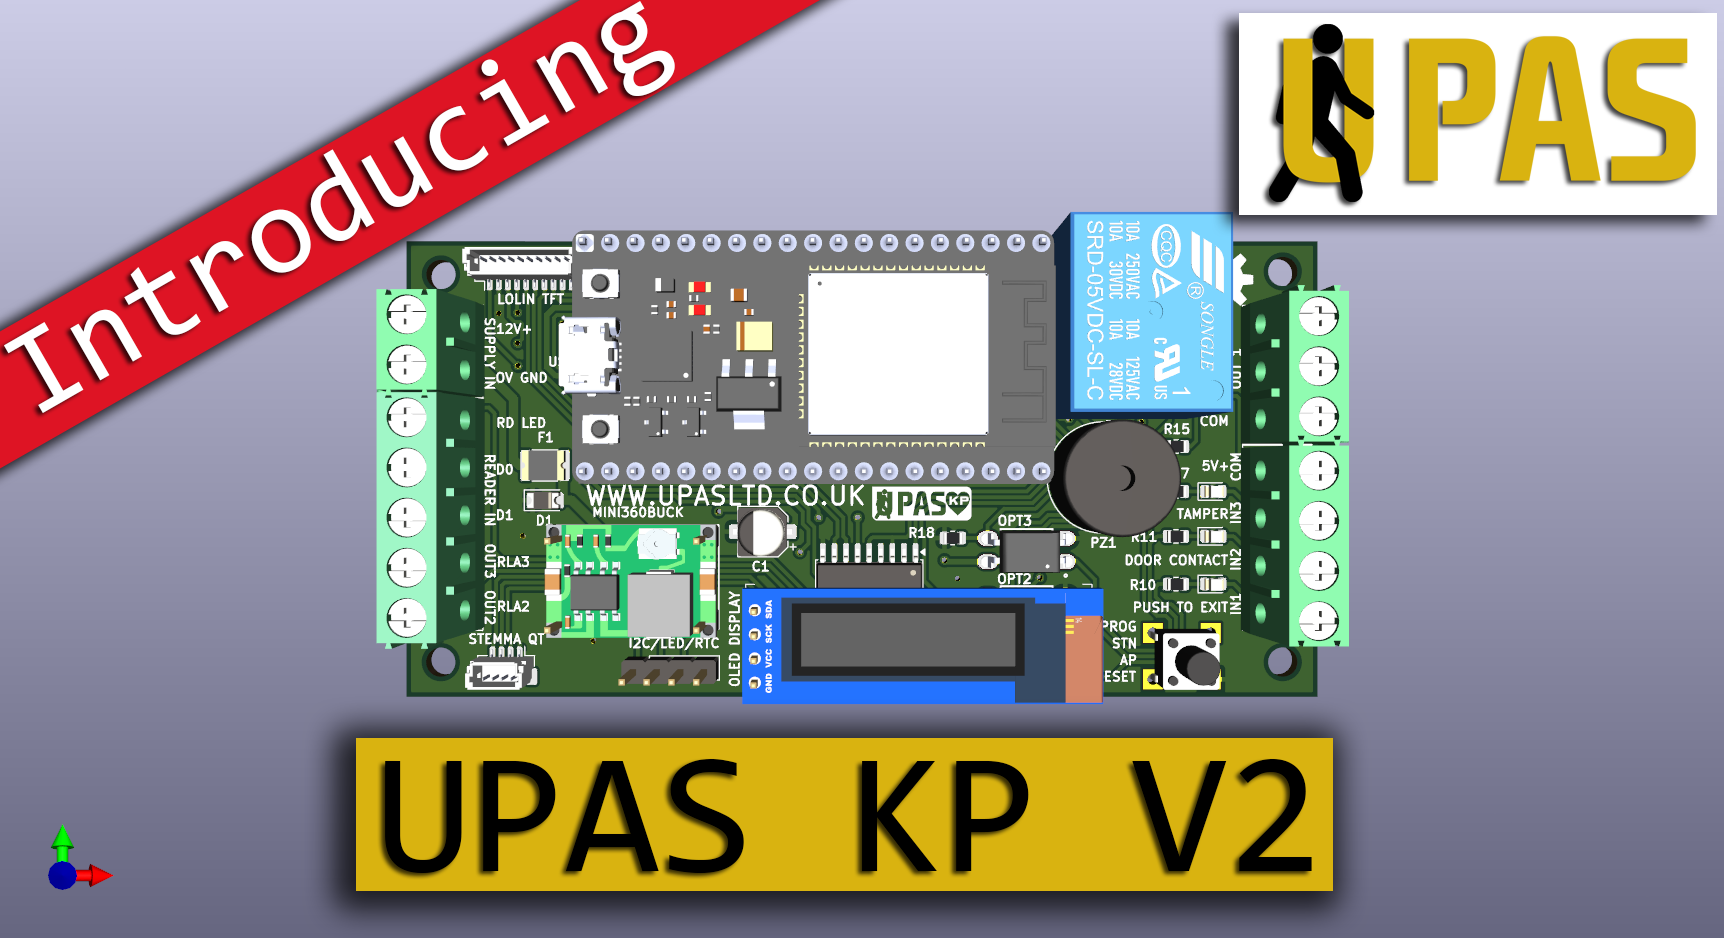
Just powered up your new KP V2? You're minutes away from mastering access control. Watch the intro video, follow the setup steps below, and unlock a world of powerful automation.
If you scanned the QR code on your new UPAS KP V2 – congratulations on your purchase! UPAS has your back.
Please watch the introduction video for a quick overview, then scroll down for setup and installation instructions.

UPAS KP V2 Intro Video – Click to Watch!
The UPAS KP V2 is your all-in-one solution for streamlined access control and automation.
Experience the power of smart access control. The UPAS KP V2 makes complex tasks simple.
Here's how to connect to your UPAS KP V2 for the first time:
0V terminal, and the red wire (positive) to 12V+.UPAS-098-******-023K.192.168.4.1.admin / upas.Setup complete! Give yourself a pat on the back 🎉